Note: this is re-posted from my discontinued blog on the plumproject.com site
Just before Christmas, our 6 year old, Ava, lost her first tooth. While I had lots of lead time (it had been loose for a month or so), the holiday season tends to make me avoid projects unless I have to make them. Luckily though, she lost it on a Sunday, so we had time to pick a design for a tooth fairy pillow together.
Ava really like the tooth fairy character on this pillow from the Martha Stewart site, but didn’t want ‘just a square pillow’:

source: marthastewart.com
Our compromise was that we enlarged the tooth template pattern to 150% of it’s original size, then added 1/4″ (0.6 cm) seam allowances and a top pocket for the tooth.
materials
- 0.25 m (1/4 yard) of medium weight fabric in cream
- small amount of stuffing, we used cotton
- matching thread
- black embroidery thread
- embroidery hoop and needles
- water soluble marking pencil
- tooth template pattern
assembly
- You can enlarge the tooth template one of two ways. Photo copy at 150% of the size or if your printer allows it, print at 150% of the current size.
- Manually add 1/4″ seams to new template by tracing around the outer edge of the pattern.
- Cut 2 of the tooth templates out of the canvas fabric.
- Using tracing paper, or a water soluble marking pencil, stencil the tooth face onto the right side of one of the tooth pieces.
- Embroider the eyes and the mouth of the tooth using the french knot and the backstitch, respectively.
- Cut 2 of the inner pockets approximately 2/3’s the width of tooth template and 2/3’s the depth of the tooth ‘head’. Trim the top edge of each pocket to match the top of the tooth pillow.
- With right sides together, sew each pocket side to each tooth template. Press the tooth pocket upwards.
- With right sides together, starting at one side of the pocket, sew down the pocket side, around the outside of the tooth, then up the other pocket side.
- Clip seams around the curves and trim seams around the tooth root ends.
- Turn inside out and stuff until firm.
- Machine sew the bottom edge of the pocket and stuff back into the pillow.

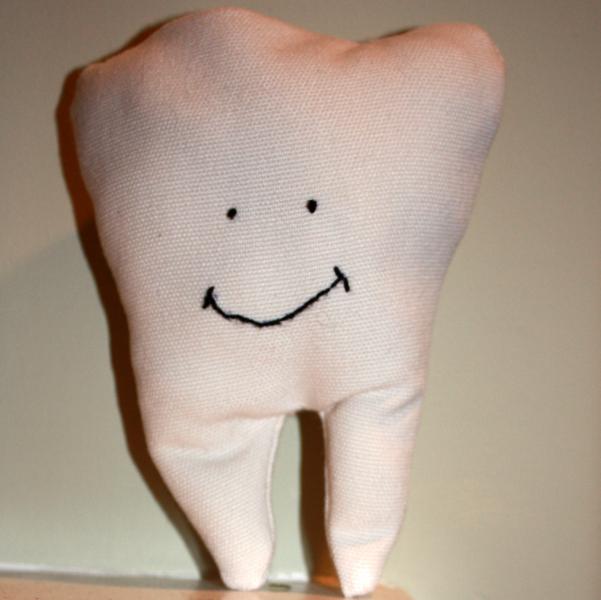
tooth pillow top
Ava particularly likes that the top pocket detail gives the pillow dimension and ‘looks like a real tooth’.

the missing tooth


. Will definitely be ready for next Christmas though!")


{ 0 comments… add one now }
You must log in to post a comment.